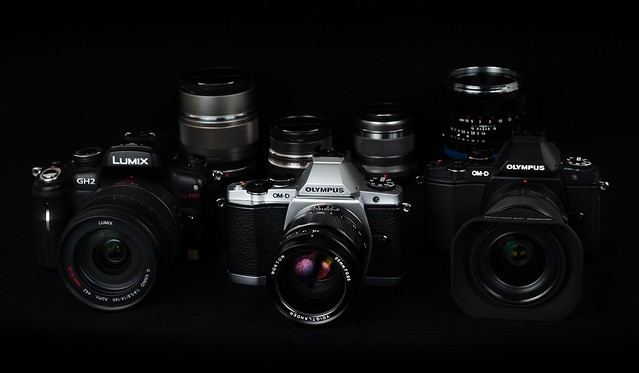
The Olympus E-M5 (OM-D) has been around for quite a while now and it's hugely popular among enthusiasts and professionals alike. Just a few months ago there was a major firmware update v1.5 issued by Olympus. It addresses a few of those issues and quirks with the camera that has annoyed some users. While Olympus did a nice job on this update there are still a few shortcomings, mostly in the video section of the camera that really needs to be addressed in future upgrades. Dear Oly, are you listening?
Above: Screenshot from OM-D footage.
The main problem with the H.264 codec in the OM-D is the ridiculously low average bitrate, the manual says 20Mbit/s but it sort of averages out at 17Mbit at best and sometimes considerably lower. It's a VBR codec (Variable Bit Rate) which means detail level in the video stream prior to encoding is the main trigger for bitrate distribution. More details in a scene will trigger the codec to run at higher bitrates, but at a certain point too much detail will cause the encoder to more or less 'pack its belongings and go home for the day'. See image below for the worst case scenario, ruined shot!
Above: OM-D Codec disaster, painfully evident while shooting a classic "bush of death" scene used frequently by members of the Panasonic GH2 hack team to evaluate codec stability. The GH2 occasionally would lock up and require a battery removal to get back to life from the bush of death torture. But I would much rather do that every 5 minutes than look at this junk yard in post!
So what can we do in order to trigger the codec just enough to raise bitrate without putting stress on the encoder? My point is to turn off any extra sharpening, lower contrast but maintain color saturation. Disable noise reduction all the way down and let the noise/grain do the triggering of the VBR. Using manual lenses also would probably help relieve the encoder from the extra sharpening and algorithms involved in the lens correction built into the MFT system. Those things require CPU usage and may also contribute to the breakdown of the codec. So let's play it nicely.
Above: Not so nice sky, codec breakdown while pulling exposure. Too much for the codec to handle. And we used to bash the GH2 for its tendency of subtle banding in the sky at 170Mbit/s... Really? :)
So, how do I set up the E-M5 for video work?
Handling:
Program the REC button for something else than video recording, it's better to use the shutter button to start/stop your footage. You'll end up with much smoother in and outs. I personally prefer to use the REC button for aperture preview, it's easy to set up under the 'Buttons' menu.
IBIS image stabilizer is your best friend. Use IS mode 1 and don't forget to set focal length with the INFO button if you're using manual lenses. The focal length you should dial in would be what it actually says on the lens barrel. So if you're shooting with a 25mm lens, just dial in whatever closest to 25, i.e. 24mm. The IBIS compensates for the focal length and it only works when setup properly.
Create and use Custom Picture Mode and set your dials like this:
- Picture Mode: Muted
- Contrast -2
- Sharpness -2
- Saturation 0
- Gradation: Normal
Bump up your ISO to 640 as a kind of 'base' ISO for all your work, if you don't mind a little bit of fine filmic grain in your footage. It seems to trigger the codec, if ever so slightly, to produce higher bitrates and improve upon IQ and stability. This is my humble opinion. Using a variable ND filter in front of your lens will be a necessity if using fast lenses in daylight conditions.
Avoid fast pans and slow pans. In fact avoid panning at all cost, especially with detailed scenes. Shoot at large apertures for shallow DOF and preferably with manual lenses like I said before. The E-M5 can produce some very stunning footage if used the right way. Ironically the codec produces some very fine grain and detail in static scenes but it appears to deteriorate very easily if any stress is applied on the codec.
After all that being said, I just learned that Olympus OM-D (E-M5) cameras were used along with ALEXA's and Canon EOS 5D's during the principal photography of the new upcoming Mad Max 'Fury Road' movie, see related article here. So it has a place in cinematography despite its shortcomings.


Inga kommentarer:
Skicka en kommentar